There are often hidden worlds in places you would never think of.
As an example, who would have thought that a hidden dimension lies almost within their reach? Well, almost nobody! But a team of scientists have set themselves on the path of finding out.

This was the old location of Project Hidden World. Unfortunately, the efforts of the team proved fruitless and they were forced to end the search. But did they ever think that a different hidden world (but not lacking in complexity and beauty) lay beneath their feet?

In simpler terms, the very thing you're looking for is often right beneath you. Just as a curious boy found out when he looked around for traces of his old childhood toys, the bridge actually nestled an interesting and awe-inspiring secret.

But, in a more lego tone, the bridge. This was the first time that I actually endeavoured to use Brick Bending to make a build. Brick Bending is simply using LEGO bricks in such ways that they have not been intended.
For example, this bridge. It utilises one of the most simple way of Brick Bending: not completely connecting bricks, instead allowing them to rest at an angle; this is what gives the bridge its smooth curve.

The bridge is surrounded by carefully crafted vegetation; the best greenery I ever made. Well, it only consists of bamboo and a few plants. Note the gradually lightening colours used on the highest bamboo stem. This brown is used to add liveliness, while a tree stump is nestled on the other end for the same purpose.

Well, this is it! "Hidden World". After removing the bridge, it revealed a stunning landscape consisting of the old childhood toy, animals and twisting vines that the young man only glimpsed with a flashlight. The mushroom at the side is one of my rather peculiar touches, I don't know why I was so obsessed with it!

From another angle:
If you look very closely you can see a spider lying in between of the mushroom and the ship. Also notice the rust and moss on the ship, its subtle angle and depth colouring for the water. There's a rat / mouse too, looking for shelter from the unforgiving, torrential weather.

The spider's home. Unfortunately, colourful bricks had to be used for the underside because I simply didn't have such a vast LEGO collection to fulfil the black and grey tones used on top. Simple clips are used to anchor the "webs" into place.
Video of the bridge removal. This is simply a slot-in function; nothing complicated there.

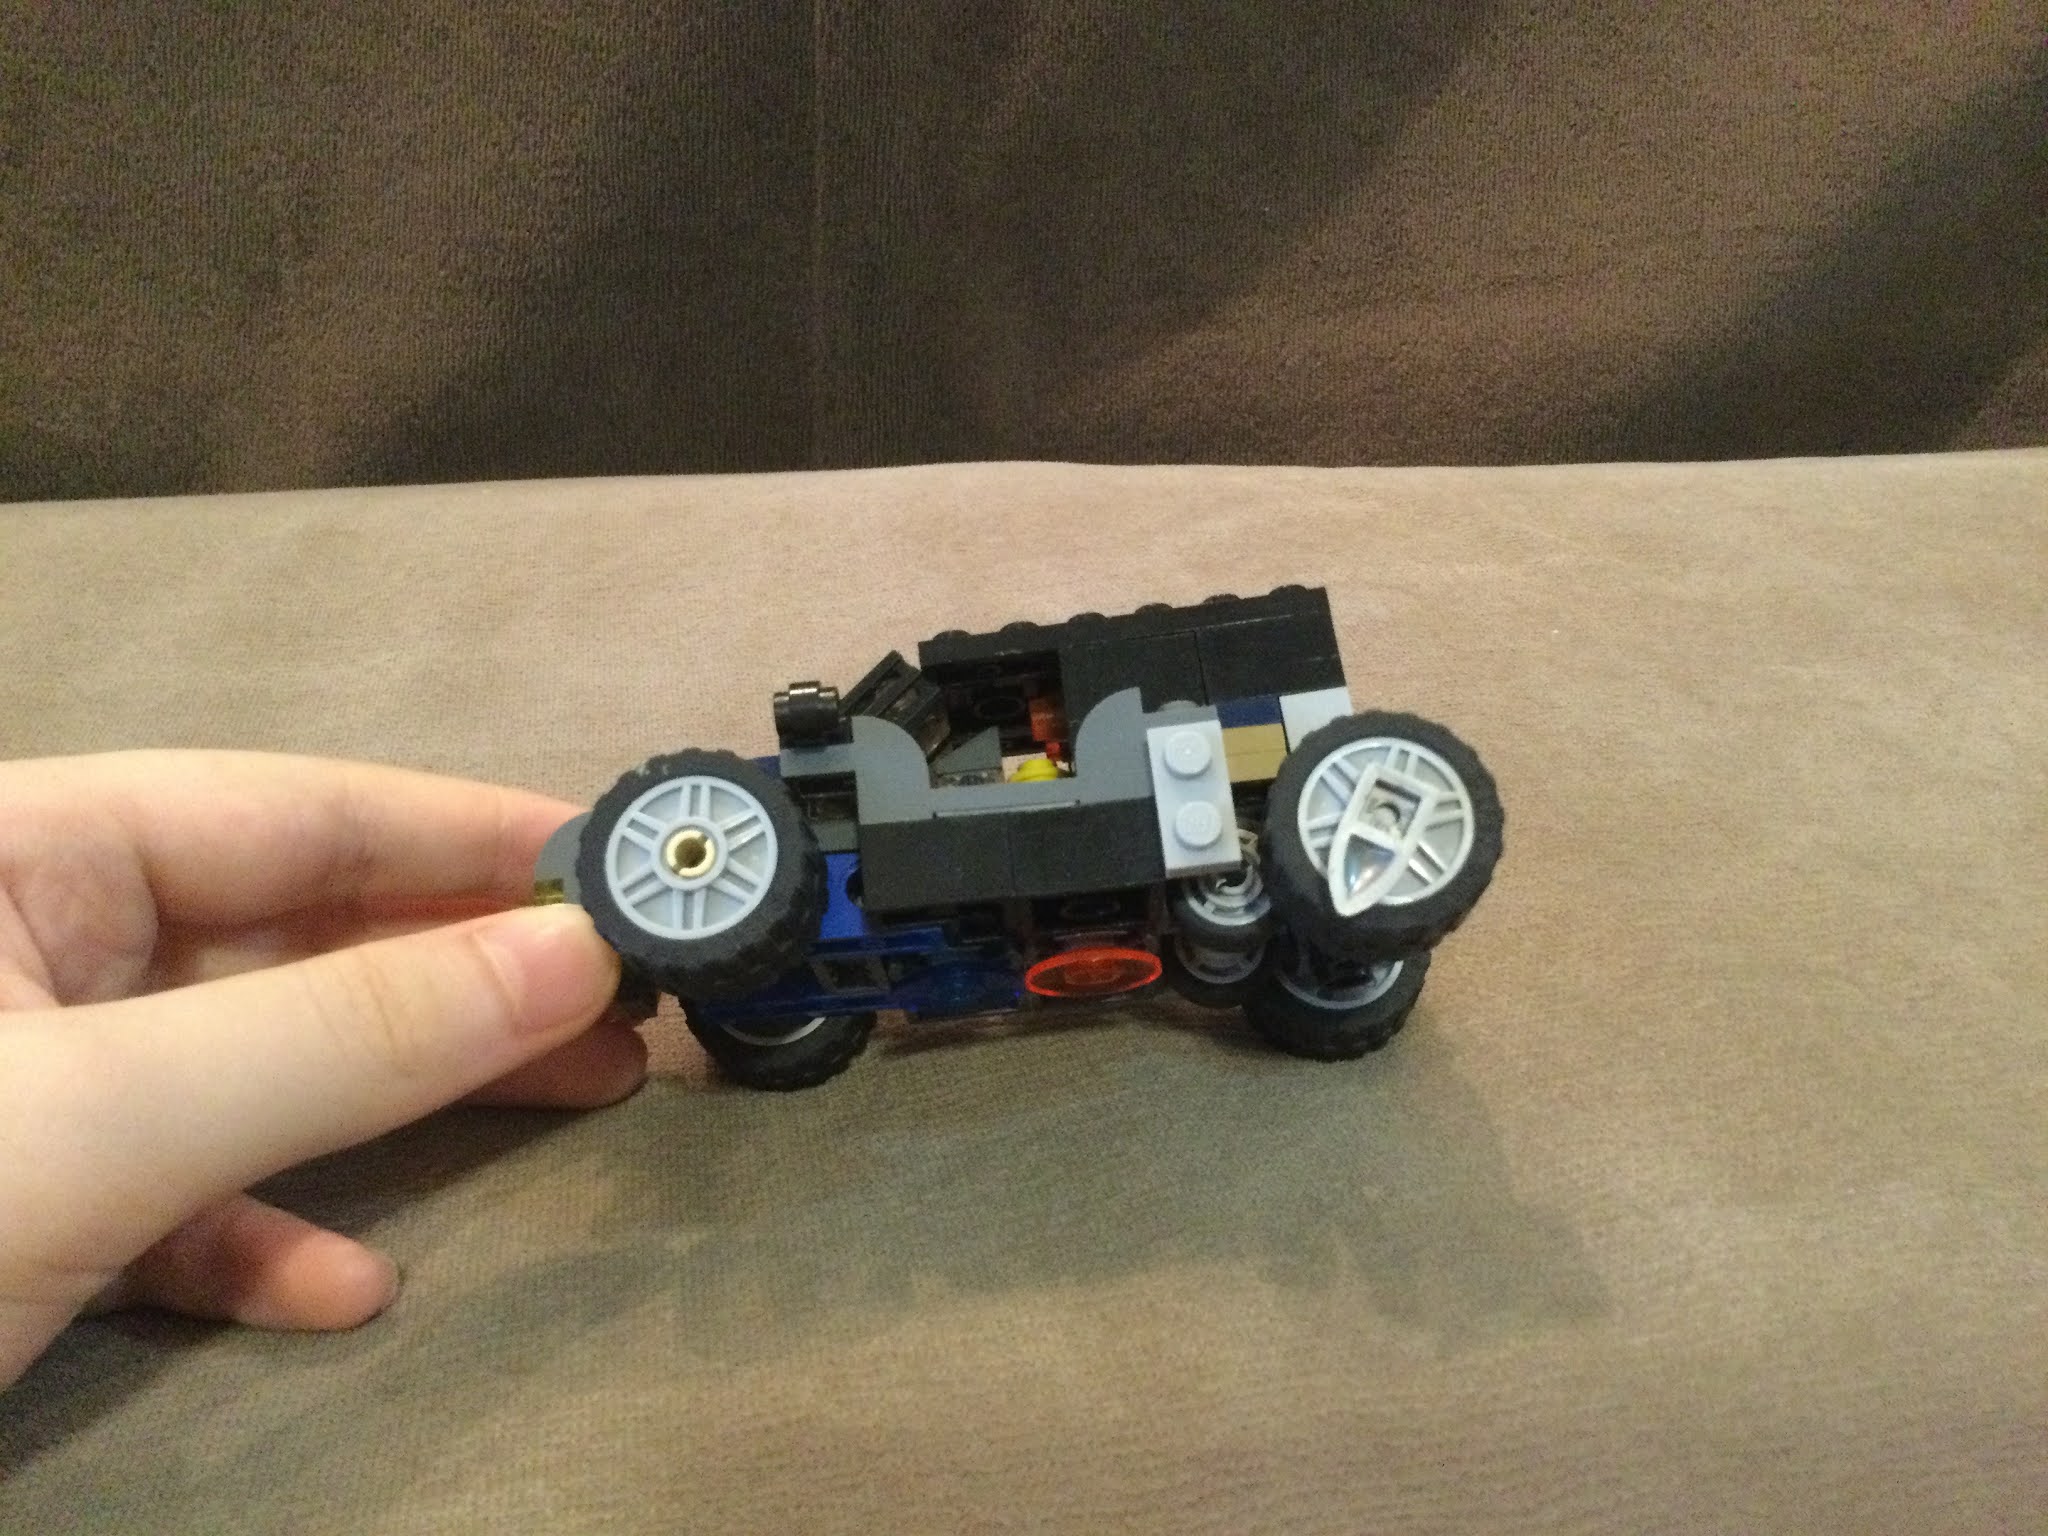
A front view of the underside.
Lastly, this model tells us that sometimes, we don't have to look very far to find hidden worlds; there's nothing more beautiful than nature and little touches of humans interposed in it.
Hope you enjoyed my build and the explanation.
Thanks for reading my blog! :)


