Wednesday, 4 January 2023

Transport Box

Name : 

Transport Box 

Number of moves : 

5

Instructions : 

Register interest

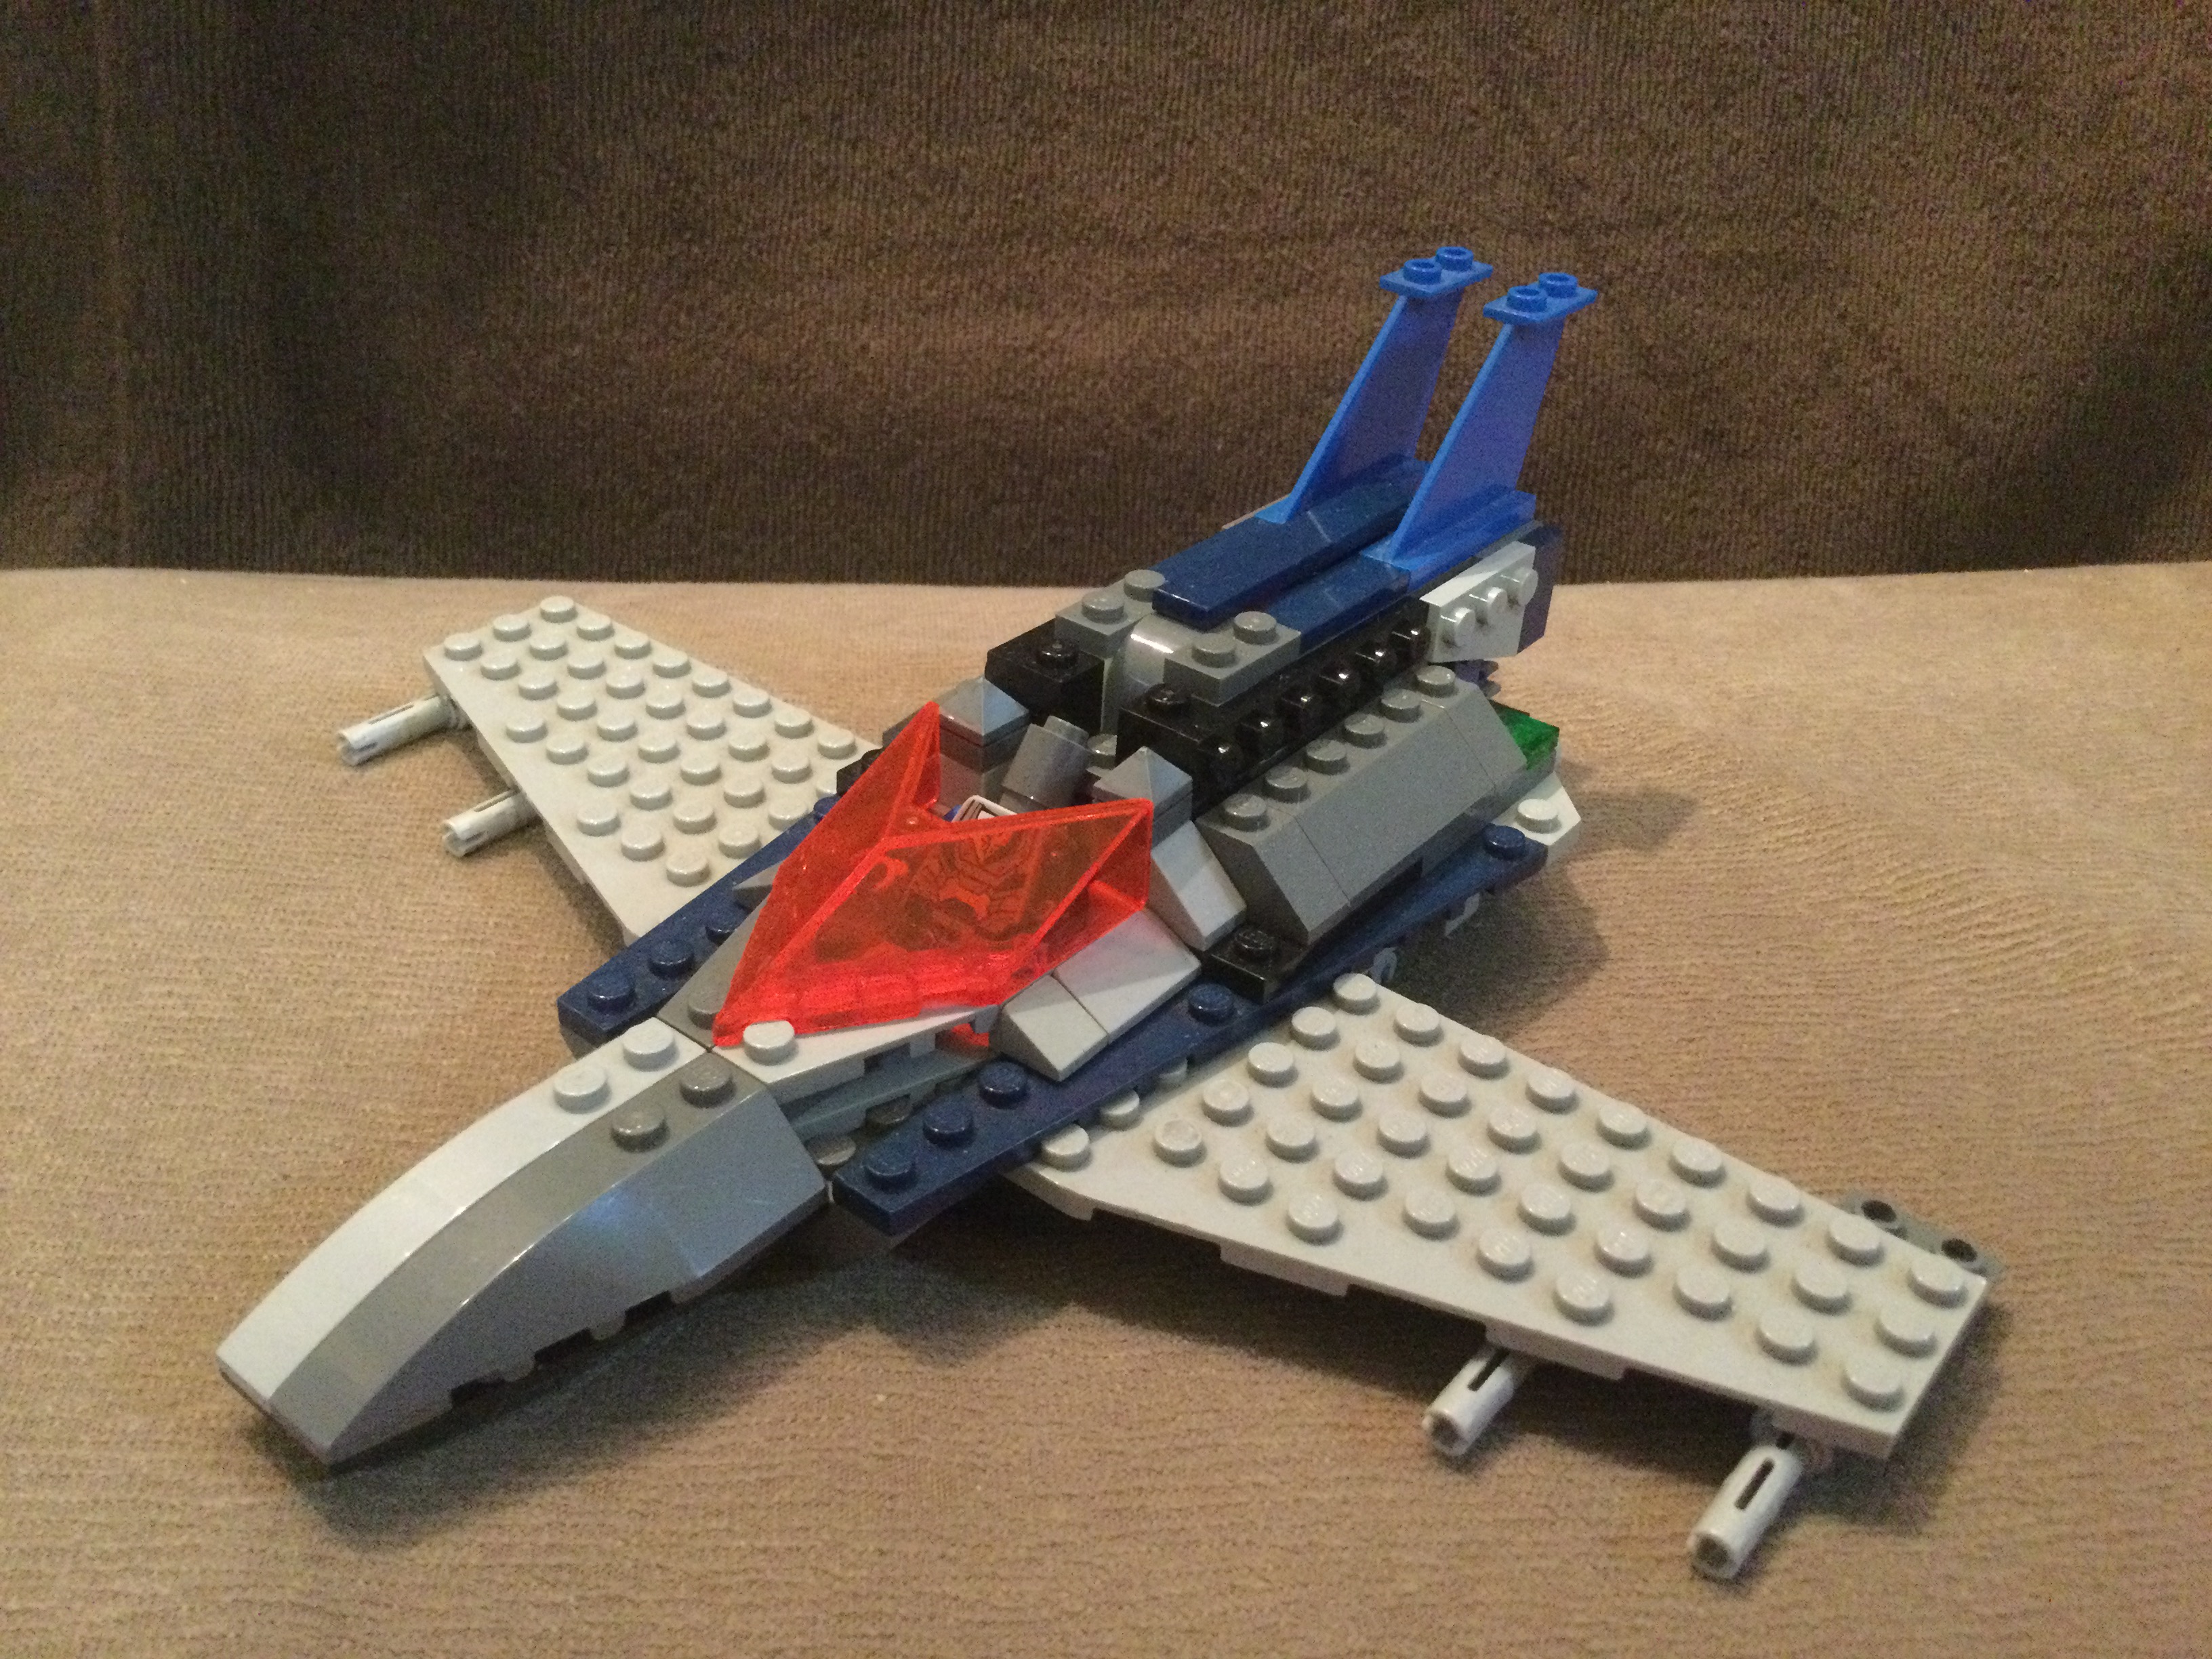
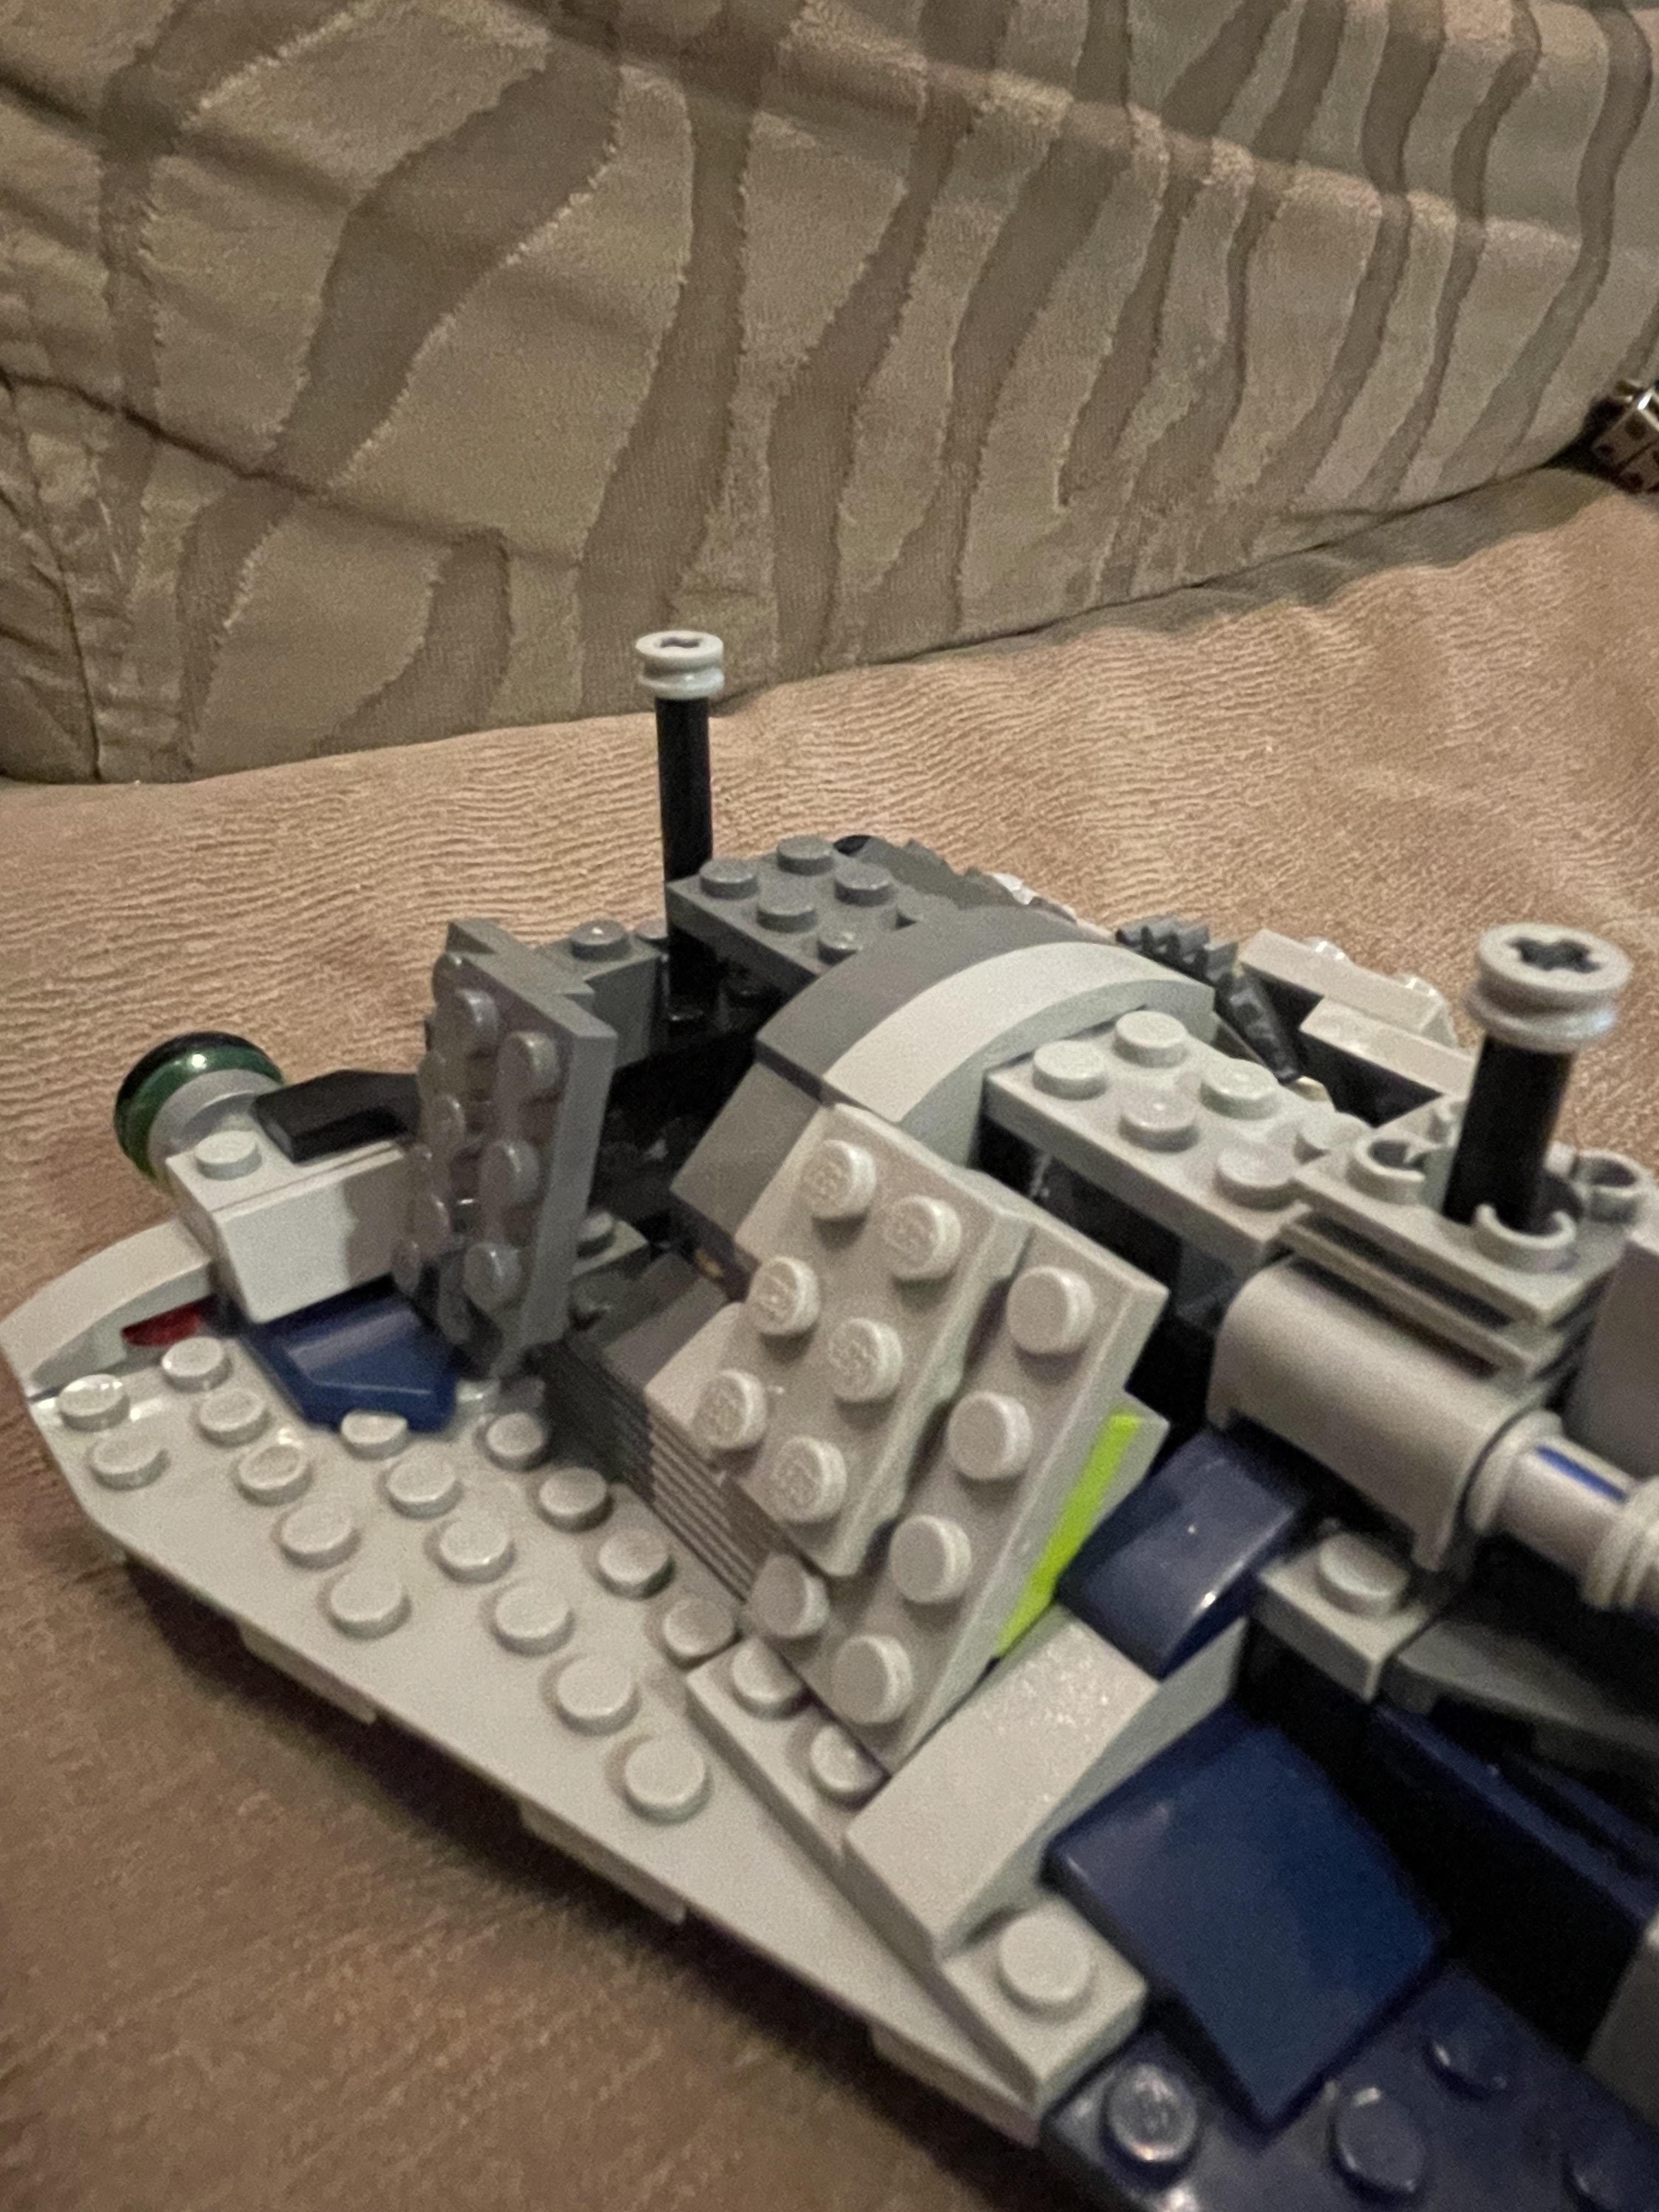
 This box was originally created in a day for a special excursion to the park. At that time, the only box available was the Cube, and that was way too big and unreliable to bring outside the house. There was only one solution : design a special box for the occasion. 

This box is quite special and you can buy the instructions to build this box; contact me for details if you are interested.


Here’s a video of the solving process as well as a picture of the box.


Well there you have it! Using an entire section of the box as a turning wheel was quite innovative and I hope I can use that in another box. Stay tuned! 

Thanks for reading my blog :)


Thursday, 29 December 2022

Puzzle Box - Pins

Name : 

Pins Box 

Number of moves : 

7

Instructions : 

Register for interest

This puzzle box was constructed when I was outstation, so the colours and mechanisms were slightly flawed. However, this was still a difficult box due to its unorthodox final move.

(The video is split into 2 sections due to length)


Many people weren’t able to solve this box because they didn’t think of flipping it over. This design is quite an old one, but I’ll be happy to create a new improved design with build instructions that you can buy (at a small price, of course!)

Thank you for reading my blog.


Sunday, 25 December 2022

The Mini Cube

Name : 

The Mini Cube

Number of moves : 

Instructions : 

Register interest


This mini cube was originally intended to go with the main cube; sort of an introduction or “appetiser” to the main cube. I am considering to share how to build this Mini Cube for free, drop me a message if you are interested.

Here’s a video of the box solve. 


Well there you have it! A classic top-open mechanism with 2 sliders.

Thanks for reading my blog! 

Saturday, 24 December 2022

The Cube - Explanation

The structure of the box is as follows : 

Individual lock systems -> red and blue locks -> yellow drawer with tool -> slider reveal

Individual lock systems : 


Each lock system will move the ring out of place and drop a pillar down which unlocks the red and blue locks (shown later) 


2nd lock system : 


Red and blue locks : 

The lower locking system drops pillars through the system that were blocking the red and blue sliders. 

This is how the pillar locks work : 


After the red / blue locks have been slid out, they can be pushed to unlock the yellow drawer (series of pictures)


After the blue lock has been slide to the side, the fox piece can now move with the yellow drawer and slide out along with it. 


Yellow drawer and tool : 

This part doesn’t need much explanation; most of it has been covered in the other sections. The tool is a simple gear that can be inserted into the hole. 


Reveal : 

The last thing in my explanation would be the reveal. It’s actually a huge gear rack that protrudes all the way through every single layer (I don’t have the special, smaller gear rack) 


The rack is pulled up by a gear within the box (later  (video for further explanation)


This box was really a joy to design and let people try. Hope I can continue making these boxes and improve them as I go along.

Thank you for reading my blog! 


Thursday, 22 December 2022

The Cube

Name : 

The Cube

Number of moves : 

13

Instructions : 

Register interest

This marks a new high for the development of puzzle boxes! Introducing… The Cube!

Now I just want to make a tiny announcement. I’ll be selling my puzzle box instructions! Next time, instead of showing you how it works, I’ll just give a little teaser for the solving process so that you get interested. 

I’ll still be giving the full solving process this time though because I’m not planning to produce instructions for The Cube. It’s just slightly unreliable and too difficult to reset. If you’re really interested then feel free to drop me a line though.

Now… let’s start with a video of the solve (split into 2 parts because the video is too long)


Note : Video was edited to make it shorter

The full explanation of the mechanism will be shown in another post, stay tuned! 

Thank you for reading my blog!


Thursday, 15 December 2022

Puzzle Box - Elegant

Name : 

Elegant Box

Number of moves : 

5

Instructions : 

Register interest


Recently, I’ve actually gotten into building puzzle boxes using Lego. Basically, a puzzle box is a box that can only be opened after solving a puzzle, or making a series of discoveries (Wikipedia). I discovered them on YouTube and started making my own.  

The very first prototype was this huge chunky box. I didn’t manage to get many photos of it before it was dismantled, but here’s one. 


I might cover the solving process in another post, because today’s post is about Version 2. 


I nicknamed this version “Elegant” because I managed to make it much more compact and refined compared to the first prototype. 

Here is a video of the solving process. 


The lock and drawer need no explanation, but here’s a video to show how the key is revealed when you turn the knob. 


Once inserted, the knob will turn a lever which will push the key upwards and reveal it. 

Next is the locking mechanism for the drawer which required quite some thought. I’m really happy with this one and I hope I can include a similar, upgraded version in future boxes.


Basically, the wedged key moves a latch out of place so that you can open the spring-loaded drawer. This design isn’t foolproof - I’ve had people open the drawer just by jiggling it - but foolproof boxes are in the making, stay tuned! 

Thank you for reading my blog. 


Wednesday, 19 January 2022

Seaside Mansion & House on Stilts


Today’s task : Build a house. Not content with a simple and standard house, I decided to build a mansion and that slowly became a Seaside mansion. 


The design is quite simple, utilizing SNOT bricks and clips to mount objects in interesting designs. The tree in the corner is made by simply not fully connecting the individual 1x1 green pieces. One side is tilted more than the other so the curved effect is achieved. 


This section is the garage for the house. Quite standard in any case, using corrugated grey bricks to make a shutter door effect. Tall bushes are achieved using the same 1x1 green parts as the tree. Another feature is the window. Using unconventional methods like not fully mounting bricks and adding curves to the model, I achieved a small and minimalistic but satisfying window. 


The side is made using SNOT bricks to achieve a tan brick effect. Also, the tree on the side has a 1x1 round plate brown piece to represent coconuts. 


A closeup look of the house. Starting from the bottom up, bushes and greenery is essential, while a side-mounted glass door using SNOT bricks add a nice effect. Windows and other details make it seem like a home. On the second floor, and arch and curved pieces are used for depth, whereas another glass door adds repetition. 


The back of the house. I decided to make the back under construction as I wasn’t quite sure what to do with the back. Also to note is the small white grill window standing out among the black cladding. 


Also a quick mention of my daddy’s invention: House on Stilts. It looks slightly like a convention center… 


A full view of the mansion. 

Thank you for reading my blog. 


Wednesday, 12 January 2022

Automation : History Project


Some time ago, my history teacher gave us an assignment to make a modern castle. It needed to have the elements of a medieval castle and modern amenities at the same time. 

Since I am considerably experienced in the area of Arduino hardware and software, I decided to attempt a working drawbridge and portcullis. After all, what could be more impressive than a remote-controlled gate and door for a castle?


The first step was to set up the IR hardware. I had an existing Arduino remote control and also an IR receiver that could be applied nicely for this purpose.


The IR receiver had to be wired rather inconveniently using standard stripped wires to a breadboard.


Next was the portcullis. I utilized a pulley, a string with hook and a servo motor to achieve linear motion (up and down). I needed to find a perfect gear to connect to the servo so that I could pull the portcullis up and down as much as I wanted.


In the end, the breadboard was positively covered with wires. I used wire ties to secure and organize the wires a bit so that it was more pleasing to the eye. The Arduino was screwed down nice and tight for travel.


The IR receiver, secured using cardboard and wired using crocodile clips on two sides and a normal stripped wire in the middle. I had to secure this one with wired ties also to avoid confusion and short-circuits. There was one time that the entire Arduino heated up and I hastily removed the USB!


The drawbridge utilizes a simple cardboard piece mounted to the servo arm. Simplicity in this form allowed me to fix the numerous bugs that arose with more ease. And of course, the best part is that it still fulfilled its objective!


The entire set up could be powered by a standard 3-pin plug once the code was uploaded. To do that a computer was needed but I could do it before I headed off to school. Other methods included using a battery but I didn’t use that because of the high energy consumption of servo motors. 

I’m happy to say that the presentation went nicely but the Arduino ran less smoothly than expected…. maybe that’s an improvement for next time? Stay tuned! 

Thank you for reading my blog. 


Wednesday, 5 January 2022

Bomber

For ages I have struggled to figure out an effective way of dropping missiles. Loose mounts dropped them inconsistently, hard mounts were hard to deploy, but one day, I finally came up with an idea (with inspiration from my daddy)


So the bomber was born. A relatively normal design not very different from any other aircraft I’ve designed, this plane was differentiated by its unique weaponry.


As for its normal traits, this plane has 4 machine guns in its wings and a curved, bulbous nose. An orange windscreen shields a robot who is the main pilot. Covering could not be designed for the pilot so the bomber relies on fighter guards and agility to survive. 


A view of the underside of the plane. Two extra machine guns are mounted at the back for dogfights and the weapon delivery system is between them. 


It can be detached for maintenance and reloading. From here, the mini-missiles can be seen- a special design just for this model.  


The system is quite self-explanatory but to further clarify, after one missile has been released, the next one is pushed back up by the circular section of the drum and subsequently drops within, starting the next cycle. 


For reloading, a special slot is included there. Maximum capacity is 4 missiles. Fins help to promote stability and also look cool at the same time. 


Thank you for reading my blog.


Wednesday, 29 December 2021

ArrowHead


Introducing… ArrowHead, the fastest craft I’ve ever built. 


The design was mainly based on a search-and-rescue theory. Simply put, this plane speeds in, drops the loading bay and zooms off with its target. Its speed comes from not needing to generate lift using wings, the entire plane is suspended with a charm instead. 


Engines at the back of the plane provide thrust. 


The entire thing is relatively heavily armored, with plates and armor that cover the whole passenger section : a success in terms of technical building. The entire plane still looks sleek albeit the passenger section because of the curved plates laid in. 


A view of the passenger section. The knob to turn the cargo loading bay down is visible from here. The entire floor section drops down to accommodate passengers easily. This way, the craft can snatch up targets quickly. 


The cargo bay is lowered with a simple winch mechanism which is normally kept in place by a lock. It can be removed easily. 


The interior is spacious enough to store 2 LEGO minifigures without excessive headgear. Slight walls on the bottom can be lowered to form a ramp. 


The panels on the side can be hinged slightly for changes. 

And lastly, a quick video of the mechanism. 

Thank you for reading my blog . 


Sunday, 19 December 2021

Flood Rescue Vehicle


When I received news about the recent floods in Malaysia, I decided that there was only one thing to do: build a Flood Rescue Vehicle. 

The design itself was quite simple. There were stories about boats not being able to cross into shallow waters; trucks and cars were similarly swamped by floodwaters. There was only one vehicle that could cross both; the Salamander. 

A Salamander is actually an amphibious vehicle with tracks mounted on a boat body. Here, I used wheels for speed (also didn't have enough tracks) and size. 


There are two sections; the search and rescue section; and the flood victim section. Read on to find out more!


Gadgets on the front section are listed as follows:

Front: 
1. The white cone is a distance microphone to detect small noises and calls for help; can save those who are too tired to scream. 
2. Two banks of sensors are located on each side to detect debris and other things. 

Middle:
1. A big speaker (grey) to give warnings, messages, and assurances. 

Back:
1. A revolving tower with two kinds of lights to find and rescue flood victims in the dark. 


The back section, otherwise known as the flood victim section, consists of:

Rightmost:
1. The elevator system (more explanations following)

Middle:
1. An electric fire to prevent chills or hypothermia. 
2. Benches for flood victims to sit (maximum capacity 4) 

Leftmost:
Top: Bottles of freshwater, sealed and airtight to prevent any kind of contamination
Middle: Storage for valuable items, or currently a medical kit
Bottom: Food is in the circular boxes, whereas the square box holds thermal blankets if the fire heat is not enough. 


The vehicle body is hinged to get around corners.  


There are stories of people stuck on the second floor/roof having to jump down into the boat, possibly destabilizing it. Furthermore, old or weak people cannot make this journey and are forced to stay behind. My design includes an elevator function to solve this problem. 


A video showing the elevator in motion. A relatively simple design featuring a rubber-band pulley with a guide rail to ensure maximum stability solves any climbing problems. 


Engines on the side of the boat; they combine jets with propellers for maximum propulsion/horsepower.


Multiple sensors on the bottom of the Salamander, they provide data on ground instability, incoming debris, waves, and other important things. 

I hope this design is able to save many people who are in danger out there. 

Thank you for reading my blog. 


Friday, 10 December 2021

Hexabyte

For some while, I have been quite obsessed with spinning tops. My old models were symmetrical tops that spun well but had problems spinning for long. Surprisingly, the best design was the most unbalanced design. Introducing… Hexabyte! 


The initial design came from my father but I improved and changed it slightly. My additions included slopes to make it more aerodynamic, stabilizer fins to push the top against the ground, and a huge amount of weight concentrated on one side of the top. 


The weight was surprisingly distributed in such a way that it looked like a face! 

The theory of its uncommonly long spin was the weight. It wasn’t balanced. The idea was that the imbalance would cause it to swing from side to side, but with a rough surface, it would be able to stay longer than other tops. 

The result was a top that “scratched and scrabbled” against the rough surface, and the imbalance kept it spinning for a total of 30 seconds!


A video of its performance. Surprisingly I could only get 21 seconds max, previously the record was 25. 

Thank you for reading my blog. 

Monday, 22 November 2021

The Phoenix

Today, the building challenge was to build an animal. I was rather conflicted by this topic and toyed with several ideas for a while. But after looking at the accessories box and having assessed the huge amount of golden blades that I possessed, I decided to build a phoenix. 


The original idea was to arrange the golden blades in such a way that they looked like wings. A phoenix was decided on because it was the only bird that had wings that could be golden. After some tinkering around, the design emerged. 


After the wings, the head emerged. Inspiration was taken from Aaron Newman and slowly, the rest of the bird emerged in hues of brilliant gold and yellow. I'm generally quite happy with this model because I normally don't have much aptitude for building animals. 


Ironically, the simple design of the rear was the one that took the most time. I was running out of golden blades and couldn't create the signature, voluminous tail of a phoenix. This design was chosen for its simplicity, or maybe just because it used the least amount of golden blades.

'

The phoenix can be split into three sections; the head, body, and wings. The three sections are mostly connected by SNOT pieces and other methods. This removability helps me to make minute changes to selective parts of the phoenix without destroying the rest of the bird. 


The head design is something to note. Part of the neck section is actually a NEXO Knights shield that I chose simply because of its color. This shield went on to become the core of the phoenix, anchoring all three sections together. 


The phoenix features 5 points of articulation; as shown above:

Thank you for reading my blog.