Sunday, 25 July 2021

The Olympics Archery Stadium

 Since the Olympics are in progress now, I decided to build a mini scale Olympic archery stadium.

Why did I decide on archery? Well, swimming or diving was too complicated; I wasn't planning for such big a stadium, other sports like badminton were tried out and the parts just weren't right... that's why I guess. 


Building a stadium is already no small feat. But trying to make it large enough to be worthy of the Olympics, and also trying to manage the circular form of a stadium with LEGO (hard!)... well, it just wasn't easy. But I manages, and the resulting stadium isn't that bad... 


Essential are the targets. Made of LEGO "donut pieces" (not official!) with a 1x1 round piece at the back, they create a satisfactory target look to satisfy the scale. A camera is mounted above to capture the exact landing spot; and it has to be accurate enough to catch the speeding arrow. Good thing I didn't have to replicate that!


The entrance is made using SNOT bricks and a transparent 1x2 brick part. Quite nice, in my opinion. A mini mini figure is placed there to get a handle on the scale. Grass, spotlights and a fancy entrance panel were all essentials. 


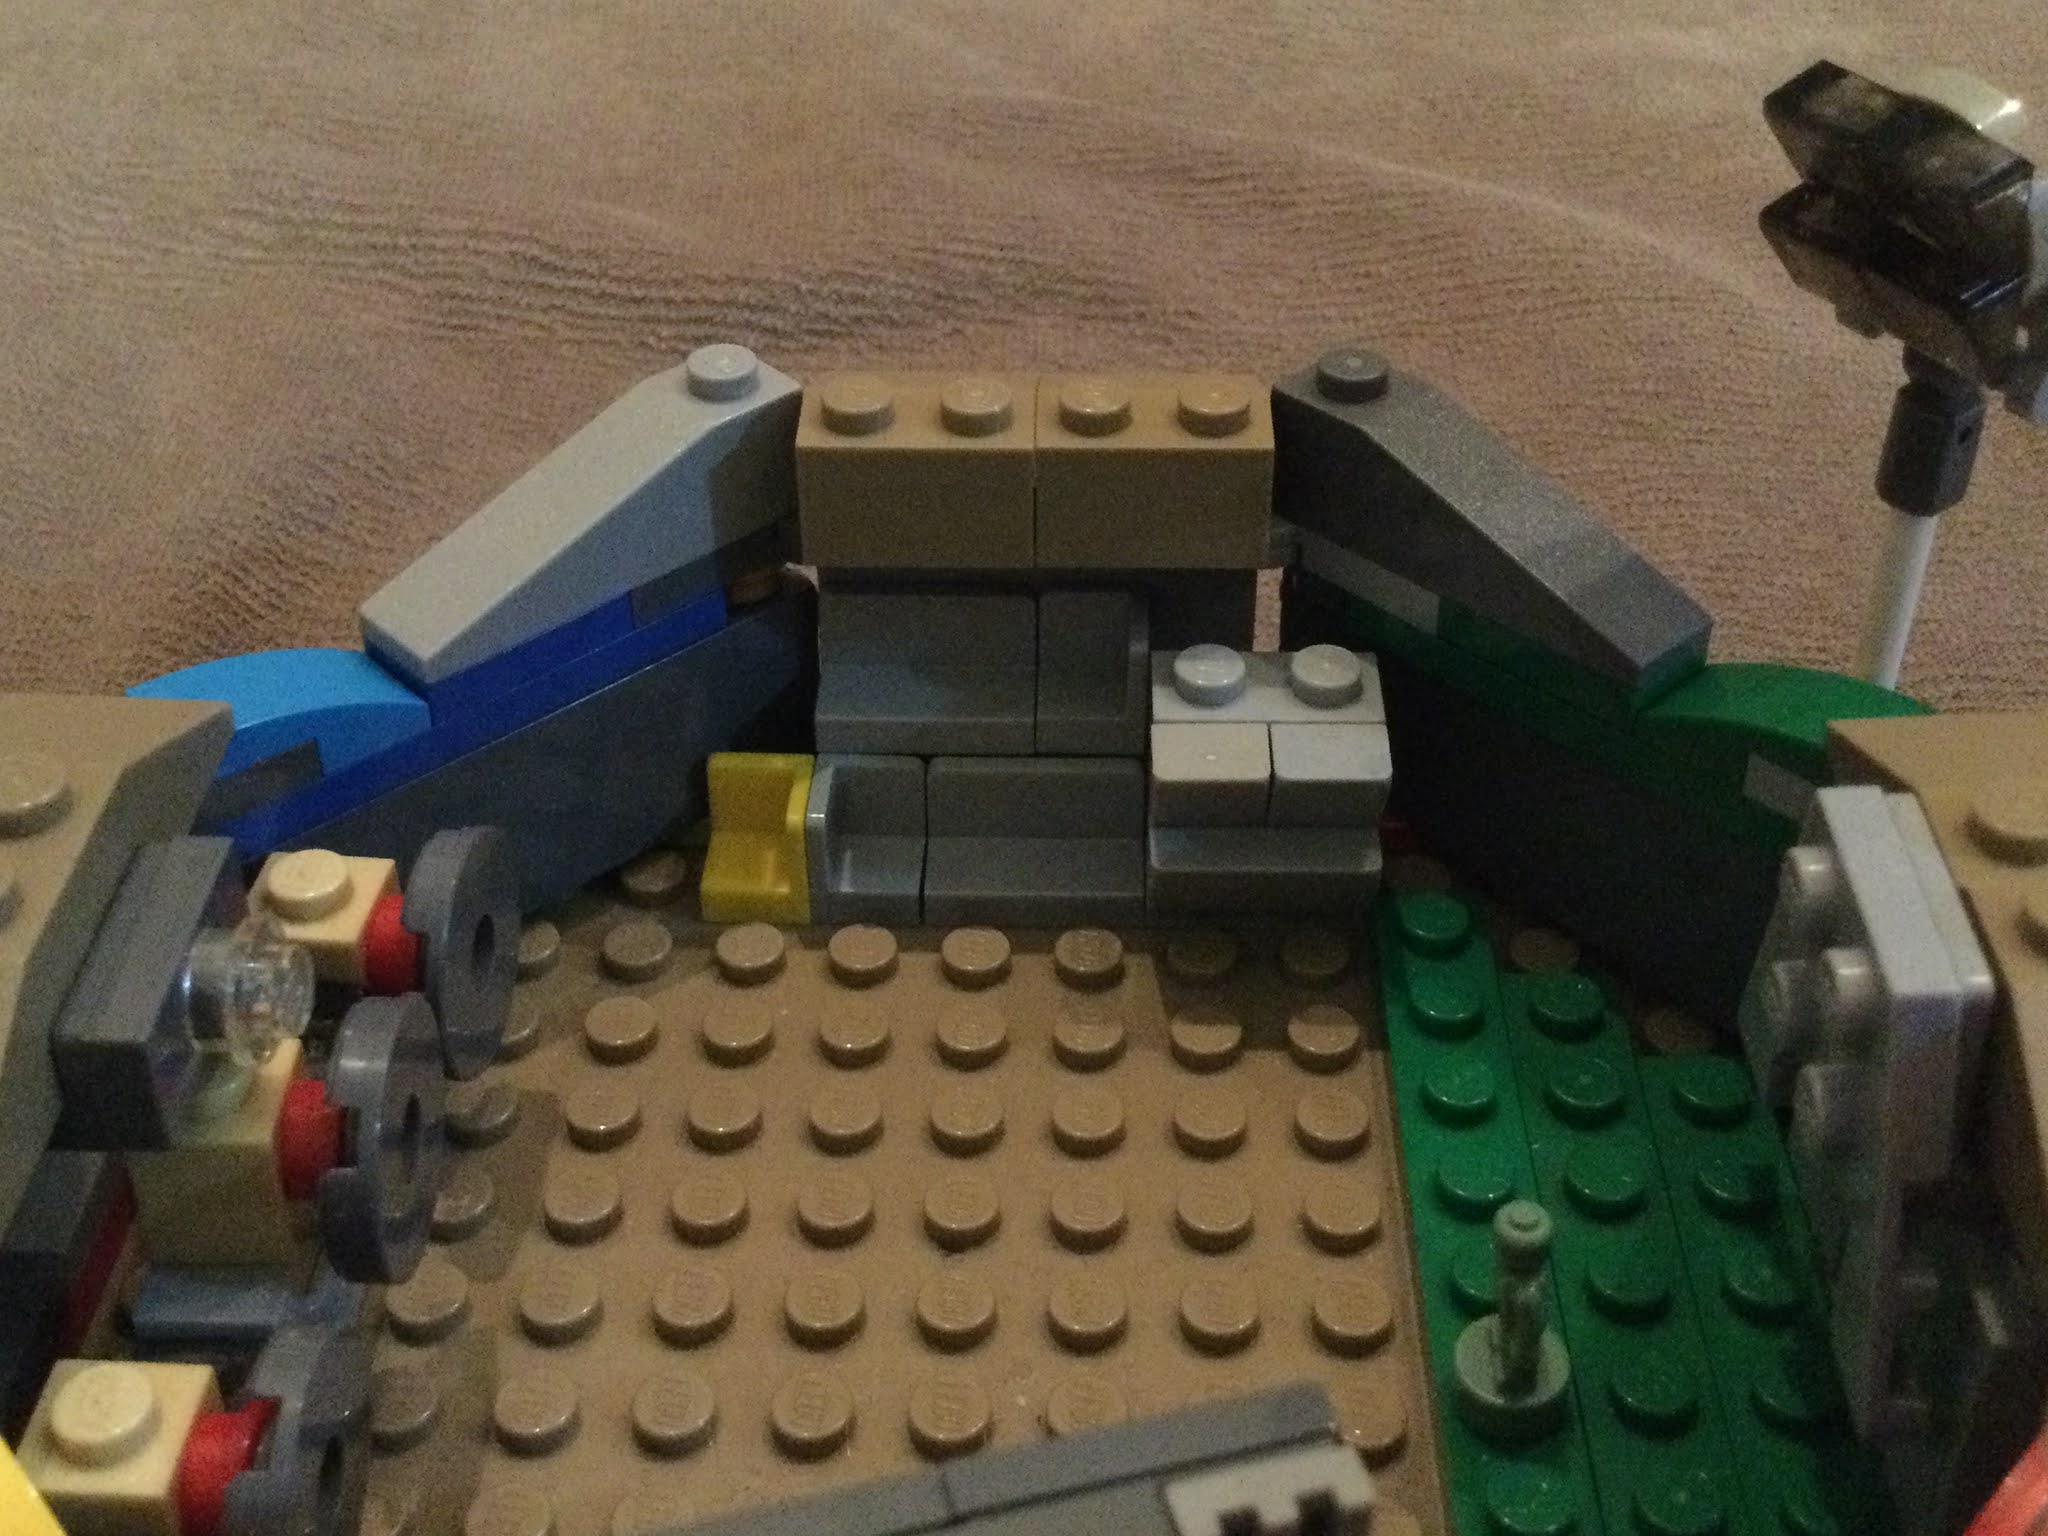
View from the side: Scoreboards, changing rooms, nothing out of the ordinary! Still, flags are placed outside: that's supposed to be the Olympic flag... (couldn't be replicated at this scale)


The other side boasts public seating, a special yellow seat for the judge, and also racks for the bows and arrows (have to be stored properly!. 


The entrance, as mentioned earlier. 

Fun fact: The squares around the stadium are all in the Olympic Colours! Did you notice?

Thanks for reading my blog~


Wednesday, 14 July 2021

Origami paper!

Recently, origami has become quite the obsession with me, so I purchased 3 packs of origami paper online because I was getting tired of folding hard and thick A4 paper. 


PAPER REVIEW : 10x10cm

Overall, I’m quite happy with the 10x10 cm paper. It’s thin enough to make the folding more enjoyable than normal paper and holds creases well. 


The only issue I can find about this paper is that it’s a bit too small to fold more complicated creations, but that’s what the larger paper is for. 

Here’s a closeup of the paper itself so that you can see it in detail. 


PAPER REVIEW : 20x20cm

The 20x20cm paper is large enough for intermediate models. I would say that the quality of this paper is moderate; it holds folds well and is thin enough but tears more easily than the 10x10cm one. 


For some reason, some colours are actually easier to tear than others. Yellow and green are of a quality similar to the 10x10, but red and blue tear incredibly easily. One assumption of mine is that this is because of the way the paper is coloured.


Al closeup of the blue shows the individual grains in the paper. 


PAPER REVIEW : 25x25cm 

Overall, this paper is the most fragile of the three. But still, I find that the size comes in incredibly useful to fold advanced models. The fragility of the paper also depends on the colour like the 20x20. 


A closeup of the blue 25x25 shows that it is much hairier than the other 2. Does that make it more fragile? I have no idea. 


SUMMARY : 

Overall, I’m happy with this new load of origami paper and will definitely enjoy using it to fold models. That is, until the models get so complicated until I need bigger paper than this!


Check out my blog for new updates on models and paper, including LEGO creations. 


Tuesday, 13 July 2021

The WaterAmbulance

 With the COVID-19 pandemic rampant in our world (not the LEGO Universe), I challenged myself to build an ambulance. 

I didn’t want it to be any normal ambulance, though. After some thought, I came up with the ultimate WaterAmbulance.

The WaterAmbulance consists of two parts; the floating stretcher; and the main vehicle. Let’s take a look at the floating stretcher first. 

The floating stretcher is designed to be light and fast. It consists of two sections, the stretcher and the cockpit. The cockpit can accommodate two medical staff / drivers and some simple equipment. The two sections are joined by a central engine with a propeller at the back.

The stretcher section is designed to be as comfortable as possible, with padding nicely fitting around a standard minifigure. I wonder if you noticed: there is a yellow button near the hand of the patient for him to call for assistance if needed.

This is the main boat section. I used a fire boat base and added medical stuff to it.

The interior of the boat is packed with details. Here is a list of all the items and a short explanation:

Leftmost item: a fire extinguisher and two medical kits. Still need to be careful!

Middle: (top) Tool racks for medical equipment, and (bottom) flares. Essential for any boat…

Rightmost items: (top) cabinets and shelves for more medical stuff, and (bottom) food stocks and rations.


Side view of the boat with ladders and lights included. Rations can be seen better from this angle.


Still, the most unique part of the WaterAmbulance is the stretcher operation mode. Saving the trouble of transporting patients, the entire stretcher configuration can be lifted up and placed on the boat to operate on patients ASAP.

Video with motion:

Time to start operating!

I hope this design helps the medical services. Thank you for reading my blog.

Friday, 2 July 2021

The Secret Mountain Base

Ever wished you had a secret base hidden in the mountains with a hidden entrance? Well then, this design is perfect for you!


The seemingly normal rock face with vegetation to hide the entrance even more… (The rest of the mountain has not been depicted here due to brick limitations, your imagination can fill in the rest)

To enter the secret base, the minifigure has to grab one of the plants (a fake one) and turn it, thus making… 
I’ll not go into detail and let you watch the video yourself.


Now, the minifigure is in its secret base! Interior design has not been added here; but the floor is concealing an astonishing amount of gears that are used to make the mechanism work. Note that the side now facing the mountain is exactly the same. 
Also, the yellow knob serves as the mechanism that triggers the turntable again, bringing the minifigure back to the outside.


Here, the panels at the inside of the base have been removed to show the mechanism. Watch the video below and see the gears turning.


*Removing the extra panels made the mechanism unstable, so that little press there served to keep it together…
Making this model was an enjoyable experience. 

Thank you for reading my blog.

Tuesday, 1 June 2021

My Personal Sports Car

 Here is my personal sports car. Isn’t it cool?

The side missiles can be used for self-protection while big wheels and a low body helps driving on smooth roads as well as rugged terrain. The jutting-out slanted piece is used for clearing away rocks or leaves. It can be sharpened also to cut grass!


Inside the spacious cockpit is a comfortable angled seat, and also a detailed dashboard, a touch-sensitive steering wheel, and last but not least, the weapon controls. The roof and the floor are easily removable for a quick escape.

Suspension in the wheels make it super easy to drive, and the streamlined form makes it look stylish with the added bonus of streamlining. The wheels are protected by special hubcaps and the red and blue lights signal an important arrival. Also, the intensity of the missiles can be adjusted with a touch of a button.


Did I mention that the whole vehicle is bulletproof? The body is covered with armor plating, the wheels are specially designed plastic, and the windscreen is tinted and stunproof. The ultimate vehicle for VIPs. Hope you enjoyed this post.

Monday, 31 May 2021

The Doomcrawler

 
This is the Doomcrawler. It is a half-tread armored offensive vehicle. Isn’t it cool? It moves using a combination of half treads and half wheels. 

The Doomcrawler’s primary weapons are two missiles and one laser cannon. It utilizes these devastating weapons when attacking. Also, the tread-and-wheel combination allows it to travel effortlessly over rugged or swampy terrain. 


The Doomcrawler is protected by two massive armor plates which are mounted at its sides. The armor plates protect the main cockpit while a bulletproof window allows protection but maintains sight. 

The Doomcrawler’s roomy interior is enough to house an escape vehicle and two minifigures. They will be well protected by the two plates and the top shield plus the windscreen. From here, you can also see the Doomcrawler’s secret weapon: a pair of flick-fire missiles hidden in the nose of the vehicle.

Thank you for reading my blog.


Sunday, 30 May 2021

My Ultimate Lightning Collector


Due to the current energy crisis in the Kriegsmarshal World, the government has agreed to implement a new source of energy: The Lightning Collector.
Lightning bolts are a very powerful source of energy, so the Lightning Collector aims to collect those bolts of lightning and turn them into electricity.
The Lightning Collector has an antenna at the top, with two other long ones helping in case of an energy overload. Then, the machine transfers the electrical energy into the battery. The battery clips in into the slot and can be removed and inserted according to the weather.

The battery removed and ready to be emptied of electricity. Oh, and did you notice that the Lightning Collector looks rather like a face? This was actually unintentional. The black pieces are the eyes and the battery slot the mouth. Isn’t that cool? Thanks for reading my blog.