Thursday, 26 August 2021

Hidden World

There are often hidden worlds in places you would never think of.

As an example, who would have thought that a hidden dimension lies almost within their reach? Well, almost nobody! But a team of scientists have set themselves on the path of finding out. 


This was the old location of Project Hidden World. Unfortunately, the efforts of the team proved fruitless and they were forced to end the search. But did they ever think that a different hidden world (but not lacking in complexity and beauty) lay beneath their feet?


In simpler terms, the very thing you're looking for is often right beneath you. Just as a curious boy found out when he looked around for traces of his old childhood toys, the bridge actually nestled an interesting and awe-inspiring secret.


But, in a more lego tone, the bridge. This was the first time that I actually endeavoured to use Brick Bending to make a build. Brick Bending is simply using LEGO bricks in such ways that they have not been intended. 

For example, this bridge. It utilises one of the most simple way of Brick Bending: not completely connecting bricks, instead allowing them to rest at an angle; this is what gives the bridge its smooth curve. 


The bridge is surrounded by carefully crafted vegetation; the best greenery I ever made. Well, it only consists of bamboo and a few plants. Note the gradually lightening colours used on the highest bamboo stem. This brown is used to add liveliness, while a tree stump is nestled on the other end for the same purpose. 


Well, this is it! "Hidden World". After removing the bridge, it revealed a stunning landscape consisting of the old childhood toy, animals and twisting vines that the young man only glimpsed with a flashlight. The mushroom at the side is one of my rather peculiar touches, I don't know why I was so obsessed with it!


From another angle:

If you look very closely you can see a spider lying in between of the mushroom and the ship. Also notice the rust and moss on the ship, its subtle angle and depth colouring for the water. There's a rat / mouse too, looking for shelter from the unforgiving, torrential weather. 


The spider's home. Unfortunately, colourful bricks had to be used for the underside because I simply didn't have such a vast LEGO collection to fulfil the black and grey tones used on top. Simple clips are used to anchor the "webs" into place. 


Video of the bridge removal. This is simply a slot-in function; nothing complicated there. 


A front view of the underside. 

Lastly, this model tells us that sometimes, we don't have to look very far to find hidden worlds; there's nothing more beautiful than nature and little touches of humans interposed in it. 

Hope you enjoyed my build and the explanation. 
Thanks for reading my blog! :)


Wednesday, 11 August 2021

Secret Agent Car

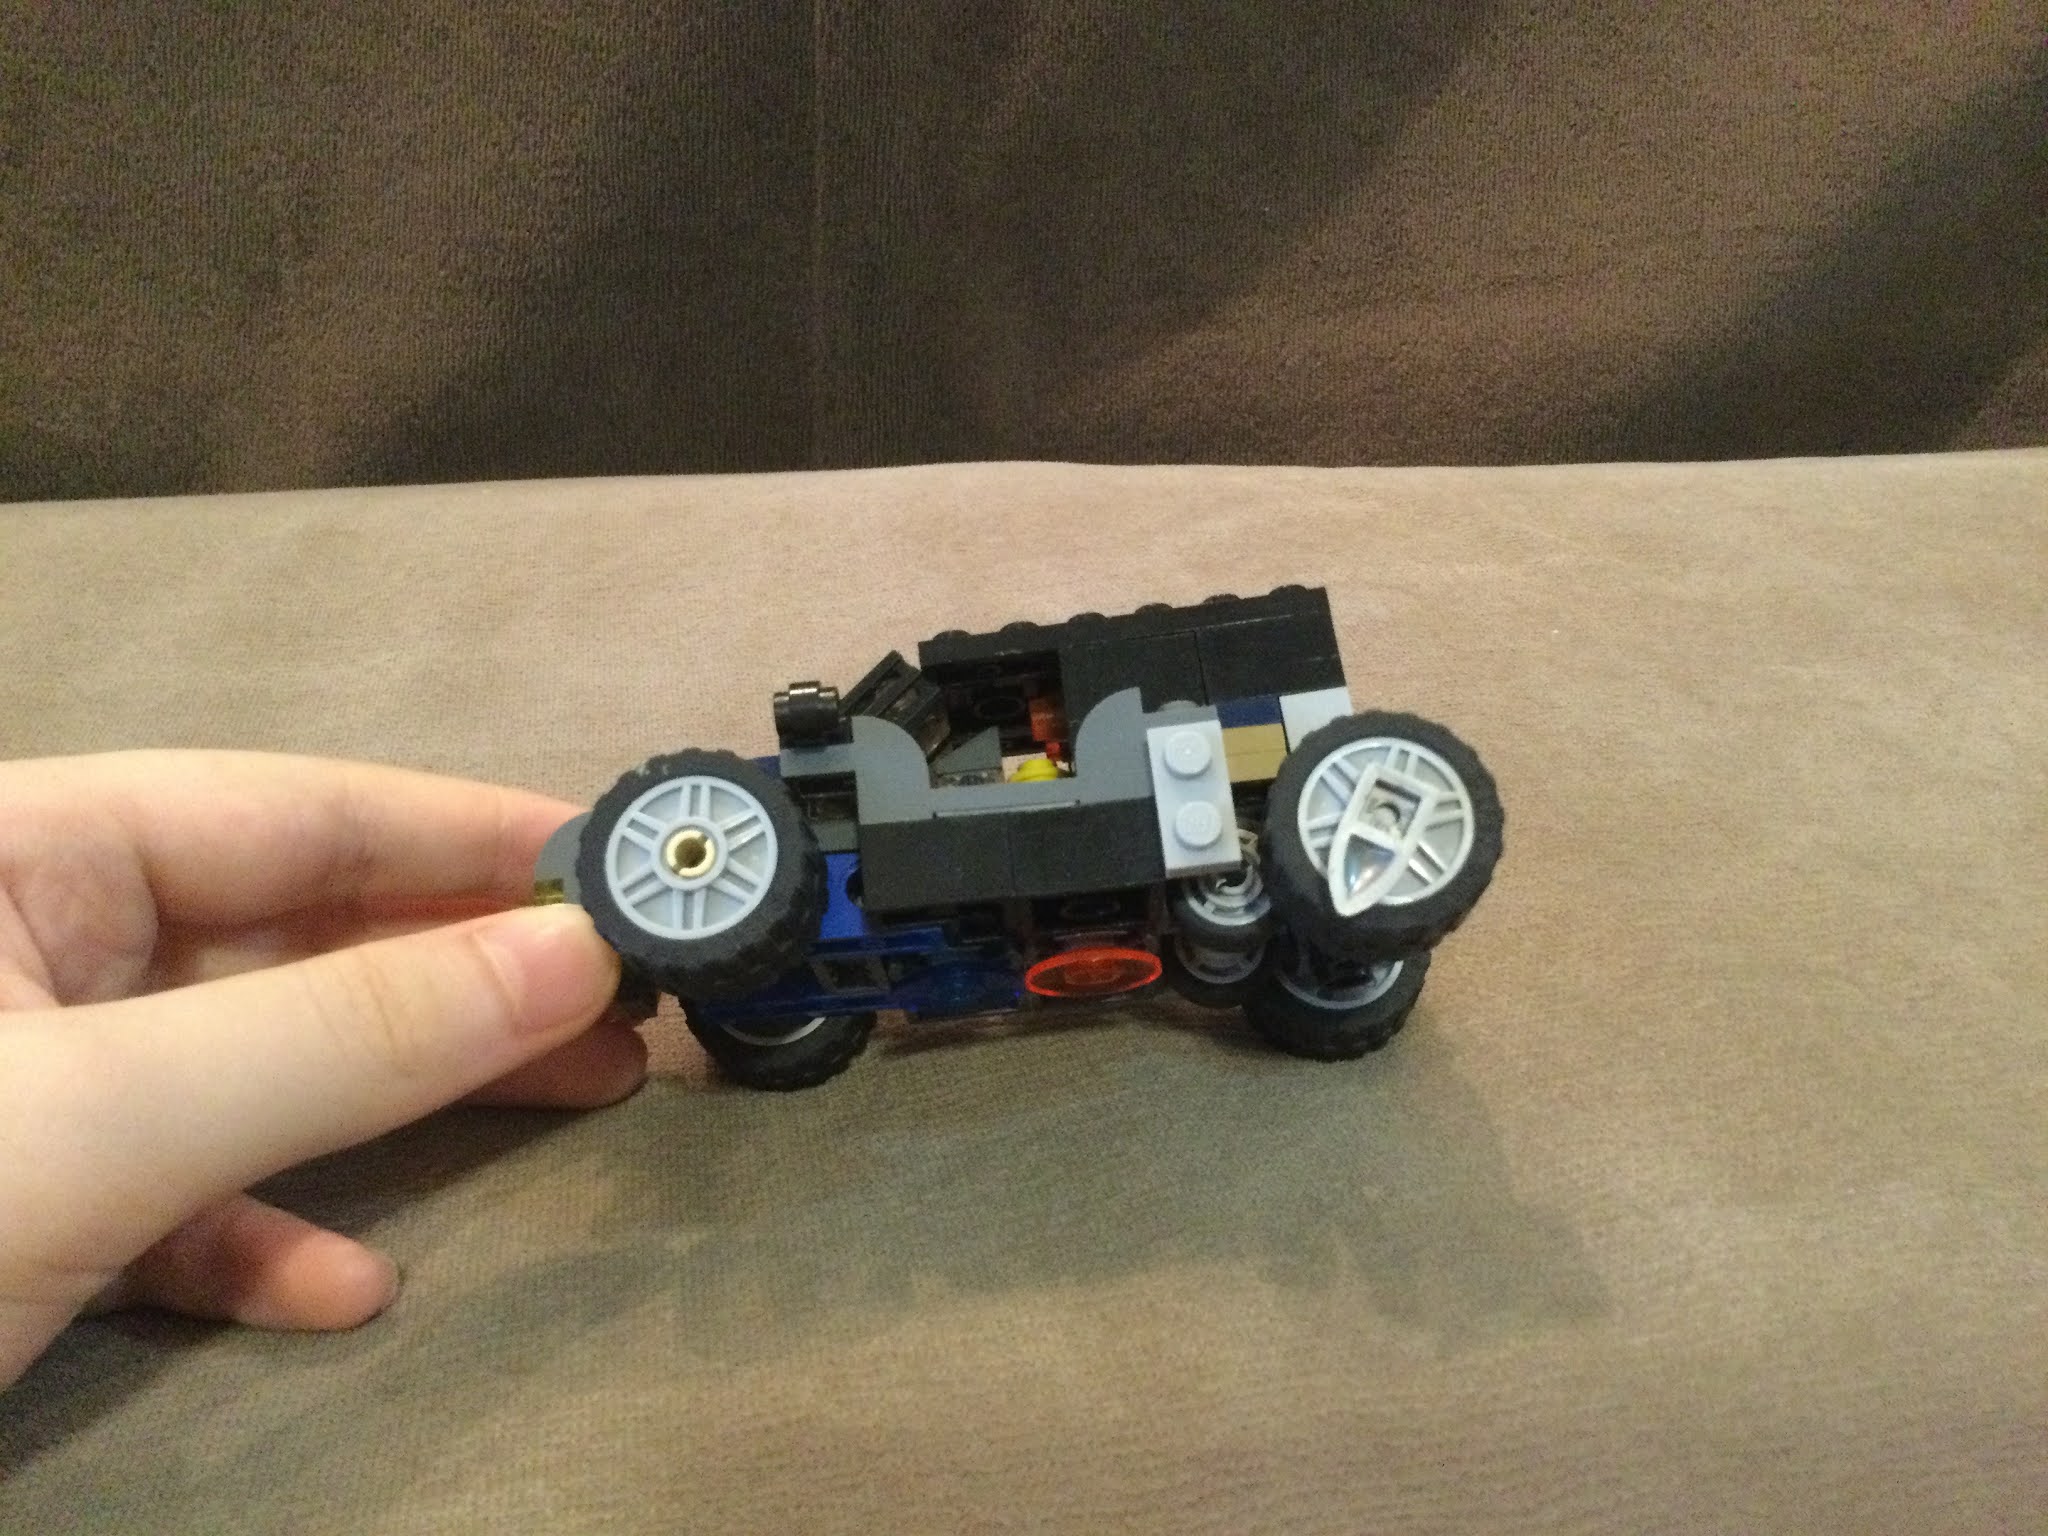
 This is my Secret Agent Car. It was a jeep at first but I found that the dark colors, rugged and mysterious look were perfect for a secret agent. Read further for notes on the building process, secret weapons, and a special feature at the end!

Color scheme: greyscale with dark blue at the front. I'm really happy with how the windscreen turned out. It's anchored by a clip at the back.


Secret weapon #1: Tyre shredders. These are used for the purpose of shredding the target's tires, disabling the vehicle. Concealed using the grey at the back, the metallic look of these shredders really makes them shine.

Secret weapon #2: Cannon behind the radiator. This needs no explanation.

Also, note the boosters at the bottom of the car. Those are used to reduce damage if the car is falling. 


Lastly, the 3rd secret weapon and the special function. I'll just let you watch and conclude later.


So, in addition to the missile rack hidden in the ceiling, the entire back wheel section can be detached to become another vehicle! The front portion can still drive, due to the hidden wheels below it (check the upper picture)

Worthy of a secret agent? (Thank you for reading my blog)


Tuesday, 3 August 2021

Robodog

 One day, I decided to make an animal. Due to my lack of experience in animal models, it didn’t turn out exactly like what I pictured it, but I’m still happy with my effort.


This is my animal creation (a dog). Originally, I intended for it to be in natural colors like brown or black but as I attempted to build further, I realized that I just didn’t have the colors to do that. The joints were only available in grey and dark grey anyway.


The face was a challenge. I wanted to insert a downward facing snout and also big floppy ears. I ended up using SNOT (Studs Not On Top) and a double cheese slope for the snout. The eyes are 1x1 round pieces. 


The tail is mounted on a clip and can be maneuvered up and down. It’s actually a teeth/fang piece. The straight slope on the back was not the best idea, but it was the easiest to achieve.


The dog has many joints which allows it to be posable. Watch the video above to see all the joints.
*The back legs can also be posed, but I couldn’t move them in the video.


Surprisingly, the joints allow the dog to lay down on the floor. Woof woof!

Thank you for reading my blog.


Friday, 30 July 2021

The HeliDestroyer

 This is the HeliDestroyer. It’s a battle craft designed to effectively take out targets on the ground. It moves slowly but where it lacks in speed, it makes up in firepower.

The HeliDestroyer is a helicarrier. Inspiration has been taken from the movie Avengers. It has two wings, on either side of the vehicle, and both wings have massive turbines on them. The turbines can be turned by a hand crank on the back.

The back view of the HeliDestroyer. The hand crank is very obvious from here. Notice the two fins on either side of the hand crank. These contribute to the HeliDestroyer’s stability. 


A video of the crank being turned.


The HeliDestroyer also has a secret weapon: a missile rack hidden under the deck plate. The missile rack can be raised as seen in the video, then the missiles can be fired.

The missile rack removed and placed on deck; the three missiles can be seen clearly from this view. Also notice the two multi-purpose guns on the wings; there are also two more (partially hidden) at the raised section between the fins (can refer to top picture for a better view)

Lastly, the underside view of the HeliDestroyer as shown above reveals part of the mechanism for the turbines, and also the bomb droppers (dark grey and black cylinders located under the wings)

Thank you for reading my blog.


Sunday, 25 July 2021

The Olympics Archery Stadium

 Since the Olympics are in progress now, I decided to build a mini scale Olympic archery stadium.

Why did I decide on archery? Well, swimming or diving was too complicated; I wasn't planning for such big a stadium, other sports like badminton were tried out and the parts just weren't right... that's why I guess. 


Building a stadium is already no small feat. But trying to make it large enough to be worthy of the Olympics, and also trying to manage the circular form of a stadium with LEGO (hard!)... well, it just wasn't easy. But I manages, and the resulting stadium isn't that bad... 


Essential are the targets. Made of LEGO "donut pieces" (not official!) with a 1x1 round piece at the back, they create a satisfactory target look to satisfy the scale. A camera is mounted above to capture the exact landing spot; and it has to be accurate enough to catch the speeding arrow. Good thing I didn't have to replicate that!


The entrance is made using SNOT bricks and a transparent 1x2 brick part. Quite nice, in my opinion. A mini mini figure is placed there to get a handle on the scale. Grass, spotlights and a fancy entrance panel were all essentials. 


View from the side: Scoreboards, changing rooms, nothing out of the ordinary! Still, flags are placed outside: that's supposed to be the Olympic flag... (couldn't be replicated at this scale)


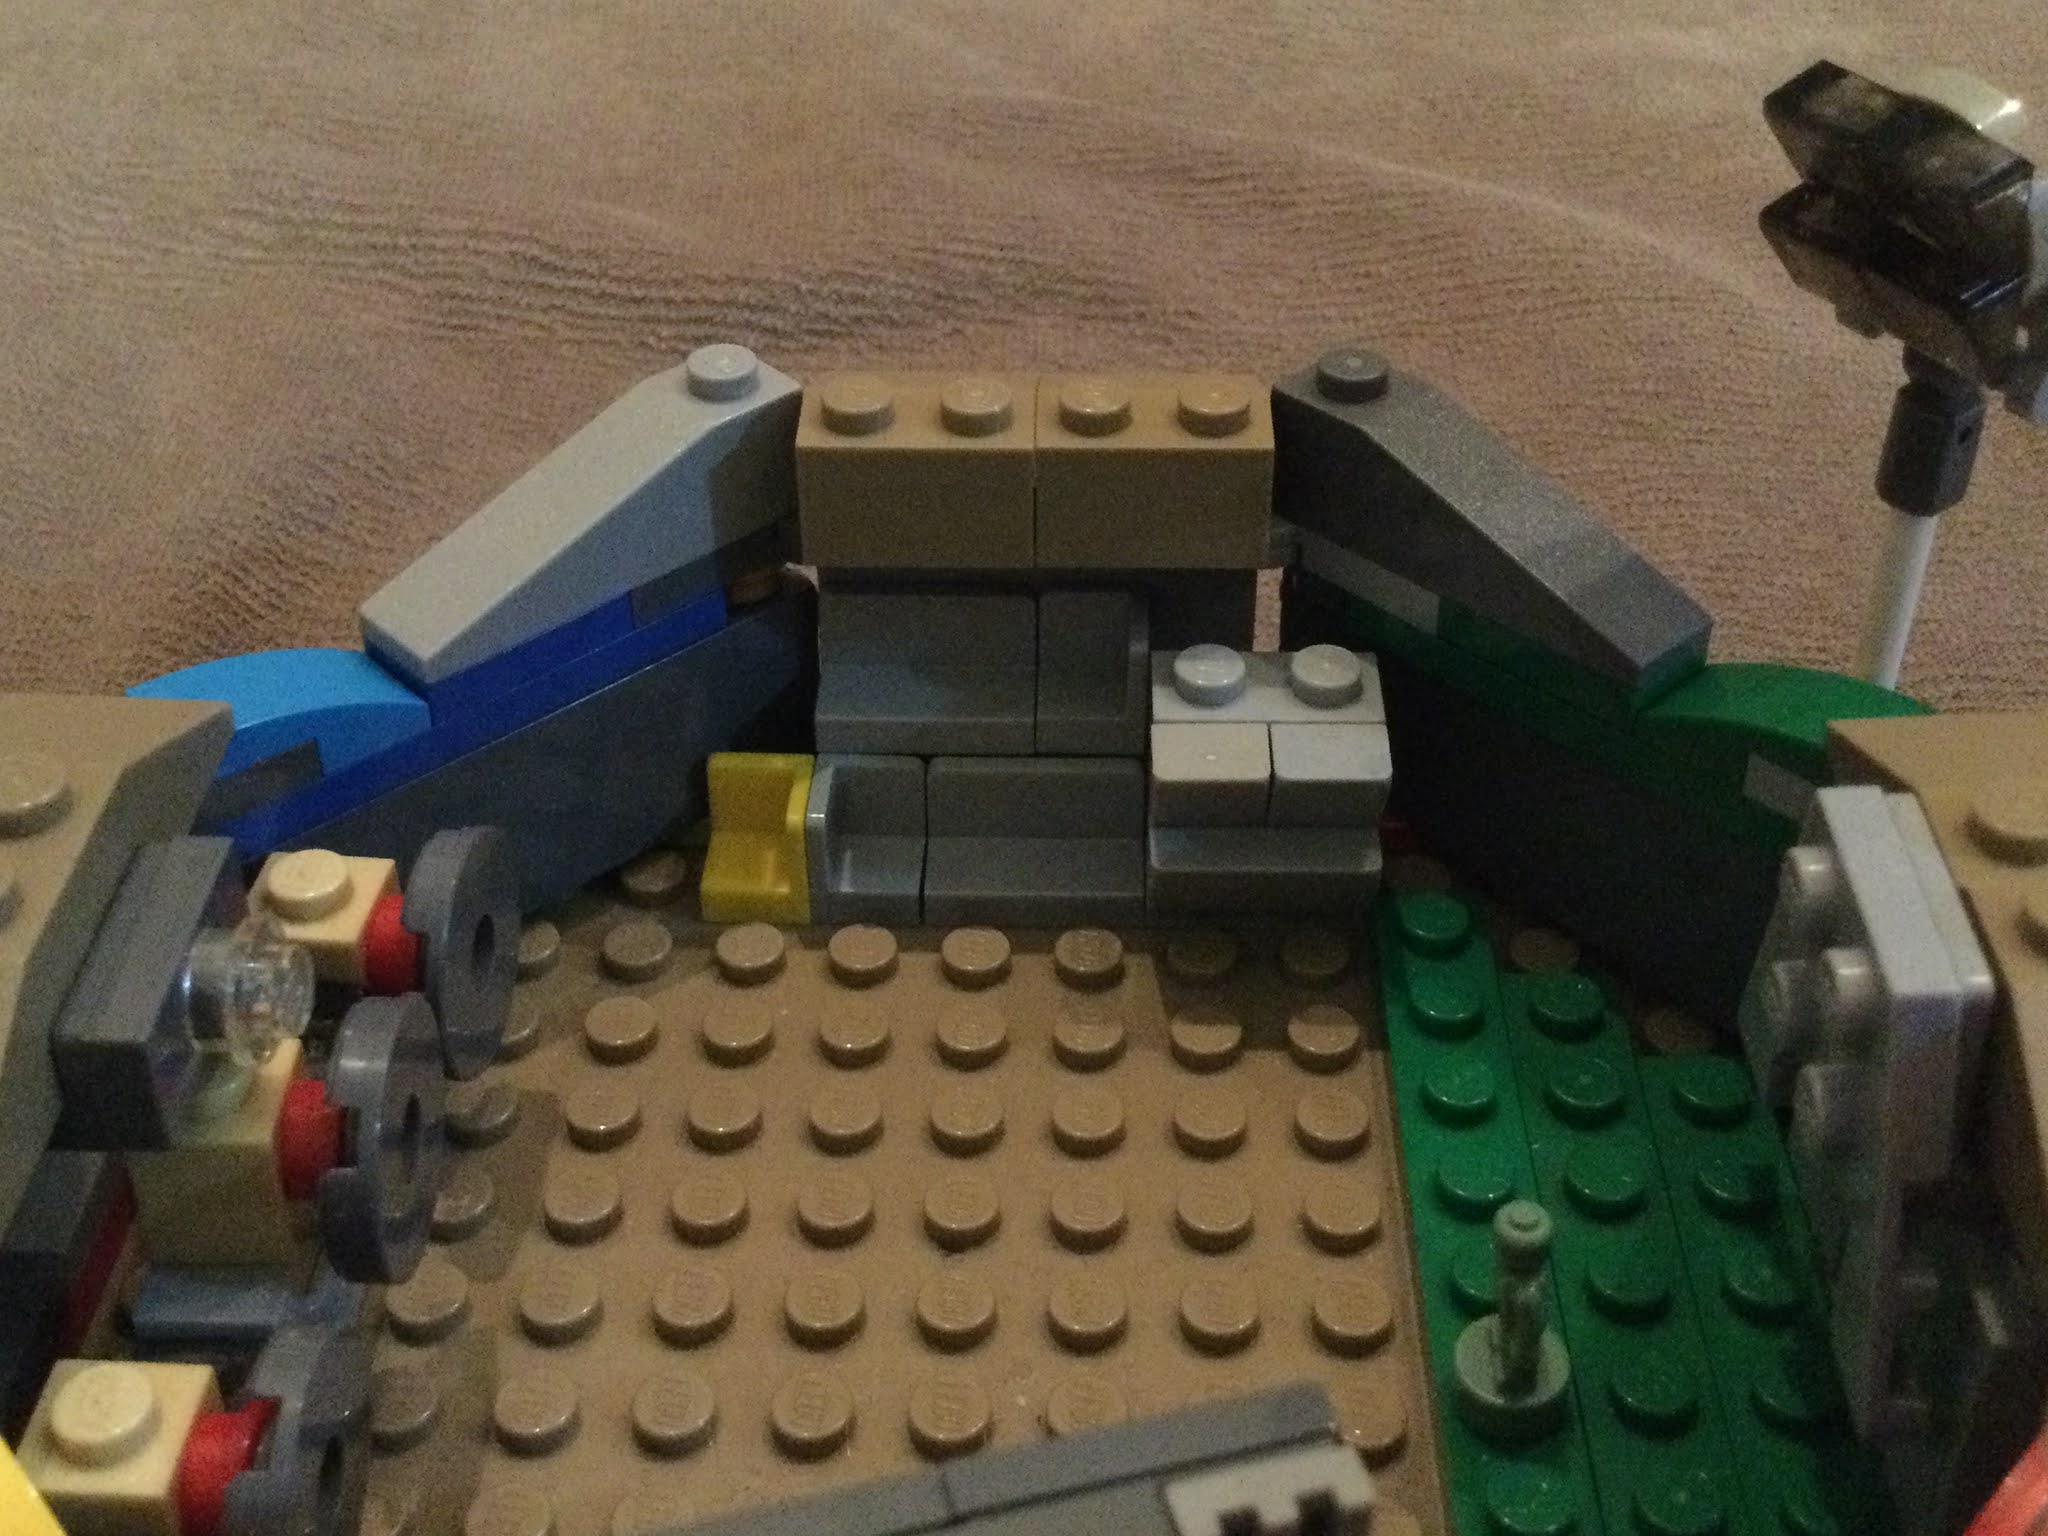
The other side boasts public seating, a special yellow seat for the judge, and also racks for the bows and arrows (have to be stored properly!. 


The entrance, as mentioned earlier. 

Fun fact: The squares around the stadium are all in the Olympic Colours! Did you notice?

Thanks for reading my blog~


Wednesday, 14 July 2021

Origami paper!

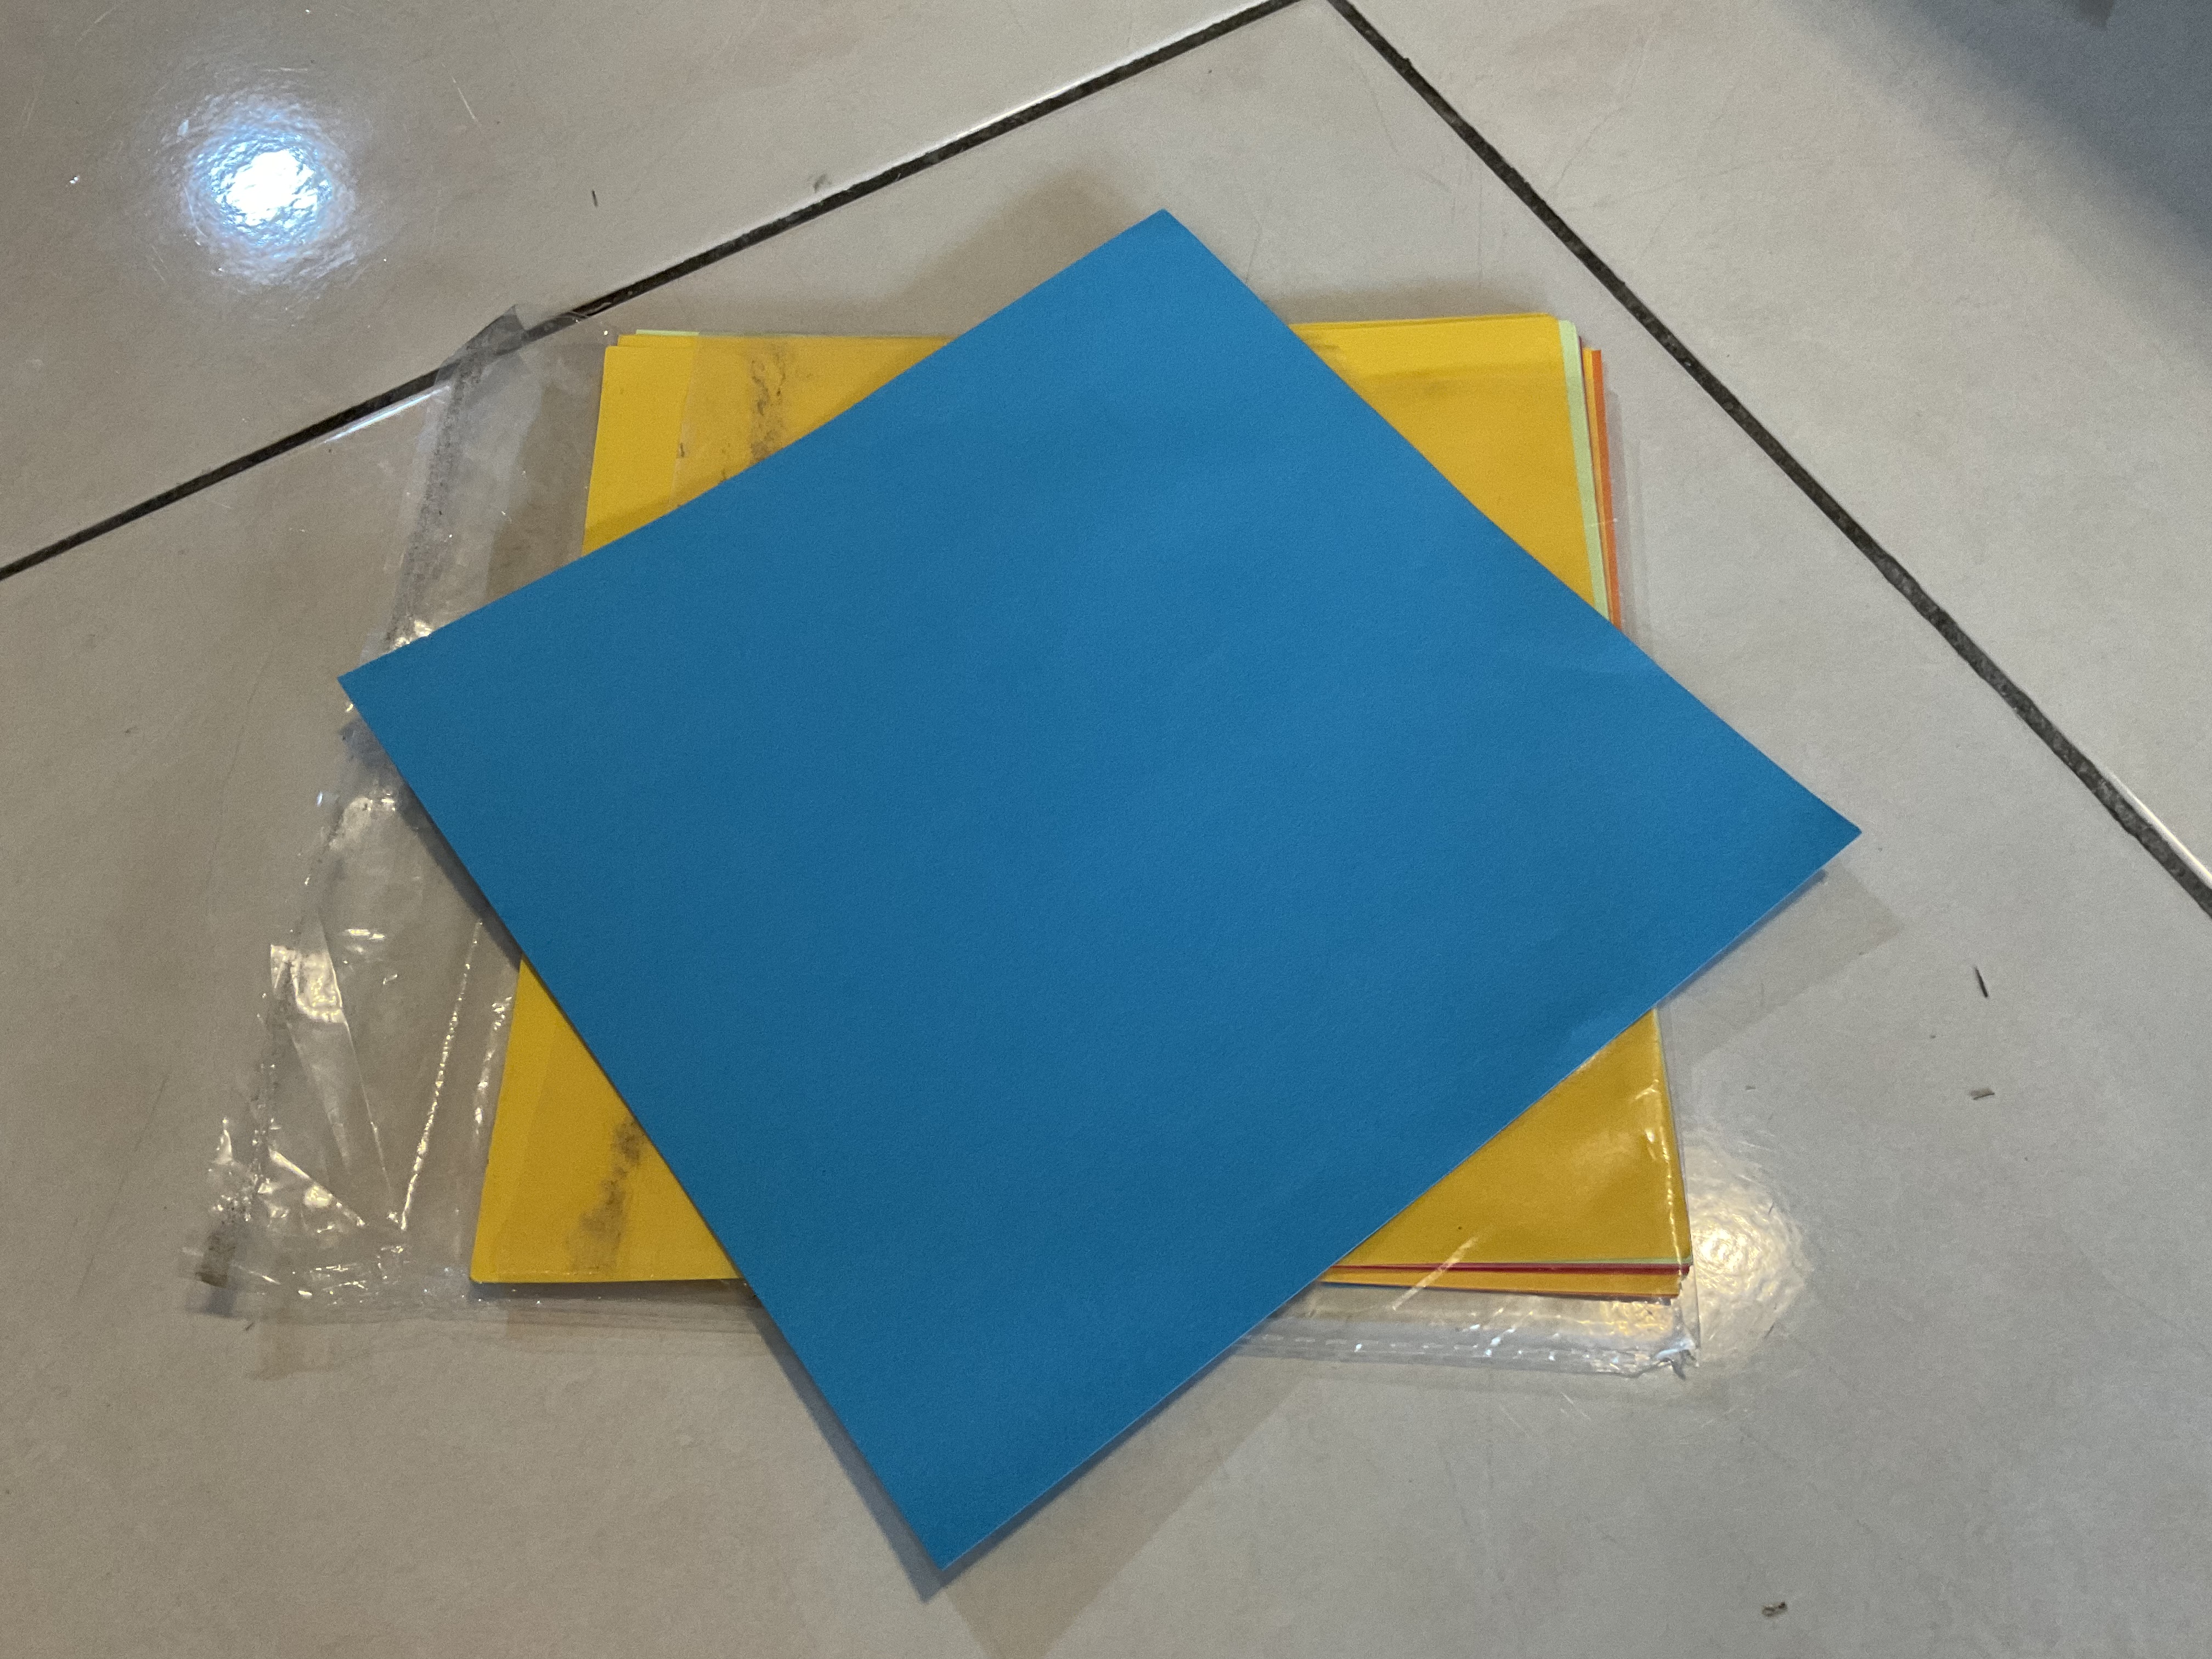
Recently, origami has become quite the obsession with me, so I purchased 3 packs of origami paper online because I was getting tired of folding hard and thick A4 paper. 


PAPER REVIEW : 10x10cm

Overall, I’m quite happy with the 10x10 cm paper. It’s thin enough to make the folding more enjoyable than normal paper and holds creases well. 


The only issue I can find about this paper is that it’s a bit too small to fold more complicated creations, but that’s what the larger paper is for. 

Here’s a closeup of the paper itself so that you can see it in detail. 


PAPER REVIEW : 20x20cm

The 20x20cm paper is large enough for intermediate models. I would say that the quality of this paper is moderate; it holds folds well and is thin enough but tears more easily than the 10x10cm one. 


For some reason, some colours are actually easier to tear than others. Yellow and green are of a quality similar to the 10x10, but red and blue tear incredibly easily. One assumption of mine is that this is because of the way the paper is coloured.


Al closeup of the blue shows the individual grains in the paper. 


PAPER REVIEW : 25x25cm 

Overall, this paper is the most fragile of the three. But still, I find that the size comes in incredibly useful to fold advanced models. The fragility of the paper also depends on the colour like the 20x20. 


A closeup of the blue 25x25 shows that it is much hairier than the other 2. Does that make it more fragile? I have no idea. 


SUMMARY : 

Overall, I’m happy with this new load of origami paper and will definitely enjoy using it to fold models. That is, until the models get so complicated until I need bigger paper than this!


Check out my blog for new updates on models and paper, including LEGO creations. 


Tuesday, 13 July 2021

The WaterAmbulance

 With the COVID-19 pandemic rampant in our world (not the LEGO Universe), I challenged myself to build an ambulance. 

I didn’t want it to be any normal ambulance, though. After some thought, I came up with the ultimate WaterAmbulance.

The WaterAmbulance consists of two parts; the floating stretcher; and the main vehicle. Let’s take a look at the floating stretcher first. 

The floating stretcher is designed to be light and fast. It consists of two sections, the stretcher and the cockpit. The cockpit can accommodate two medical staff / drivers and some simple equipment. The two sections are joined by a central engine with a propeller at the back.

The stretcher section is designed to be as comfortable as possible, with padding nicely fitting around a standard minifigure. I wonder if you noticed: there is a yellow button near the hand of the patient for him to call for assistance if needed.

This is the main boat section. I used a fire boat base and added medical stuff to it.

The interior of the boat is packed with details. Here is a list of all the items and a short explanation:

Leftmost item: a fire extinguisher and two medical kits. Still need to be careful!

Middle: (top) Tool racks for medical equipment, and (bottom) flares. Essential for any boat…

Rightmost items: (top) cabinets and shelves for more medical stuff, and (bottom) food stocks and rations.


Side view of the boat with ladders and lights included. Rations can be seen better from this angle.


Still, the most unique part of the WaterAmbulance is the stretcher operation mode. Saving the trouble of transporting patients, the entire stretcher configuration can be lifted up and placed on the boat to operate on patients ASAP.

Video with motion:

Time to start operating!

I hope this design helps the medical services. Thank you for reading my blog.